Spring loaded lever for fast & precise travel
Durometer Test Stand designed for use with AD-300 Analog Durometers
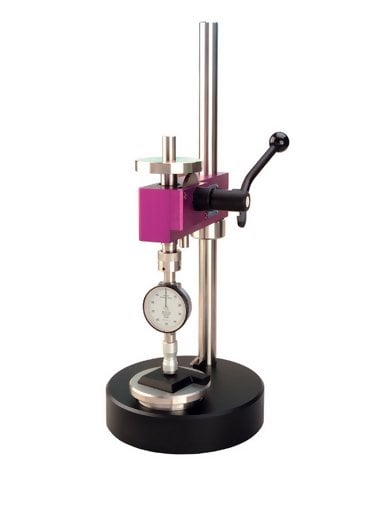
The Checkline OS-300-2 Durometer Test Stand is designed for use with the Check-Line AD-300 and DD-300 Analog Durometers. Use of a test stand significantly reduces the errors that are caused by measurements by hand which are sensitive to subjective test errors, caused by differing load application forces or non-vertical application of the durometer to the test piece.
The OS-300-2 durometer test stand works on the constant load principle. To conduct hardness (durometer) measurements, the product sample is positioned on the support table. The Durometer is lowered down to contact the test sample by pulling the manual lever. The fixed-mounted durometer insures a predictable and repeatable perpendicular contact of the test samples. All measurement values are shown directly on the analogue durometer.
The test stand is made of rugged and light weight aluminum which provides convenient adjustment of the vertical position of the durometer to accommodate a wide variety of sample sizes and shapes. A mechanical overload mechanism is provided to prevent the durometer from making direct contact with the support table.

Features

- Provides improved accuracy & repeatable when used by separate operators
- Spring loaded lever for fast & precise travel
- Lightweight, rugged aluminum construction
- Can be used in the Lab or on the production floor
- Adjustable position of durometer mounting block to accommodate large and small samples
- Designed for use with AD-300 Analog Durometers
- Optional Weight available for use with AD-300-D (Shore D Scale)

Specifications

| Support Table | 98 mm diameter |
| Sample Size | 115 mm, to center point of Durometer |
| Weight | 16.4 Kg, net |
| International standards | DIN 53505, ISO 868, ISO 7619, ASTM D 2240 |